Wednesday, August 5, 2015

Tim Holtz Altered Scrapbook kits

 Here we are at Michaels creating a fun kit by Tim Holtz which is a spin on regular scrapbook pages.  Everyone's kits were different-Clock, tiled picture frame, and mini album. Check out our Meet Up calendar and join us.  
Everyone got straight to work. I assisted as needed. These Tim Holtz kits are pretty cool!


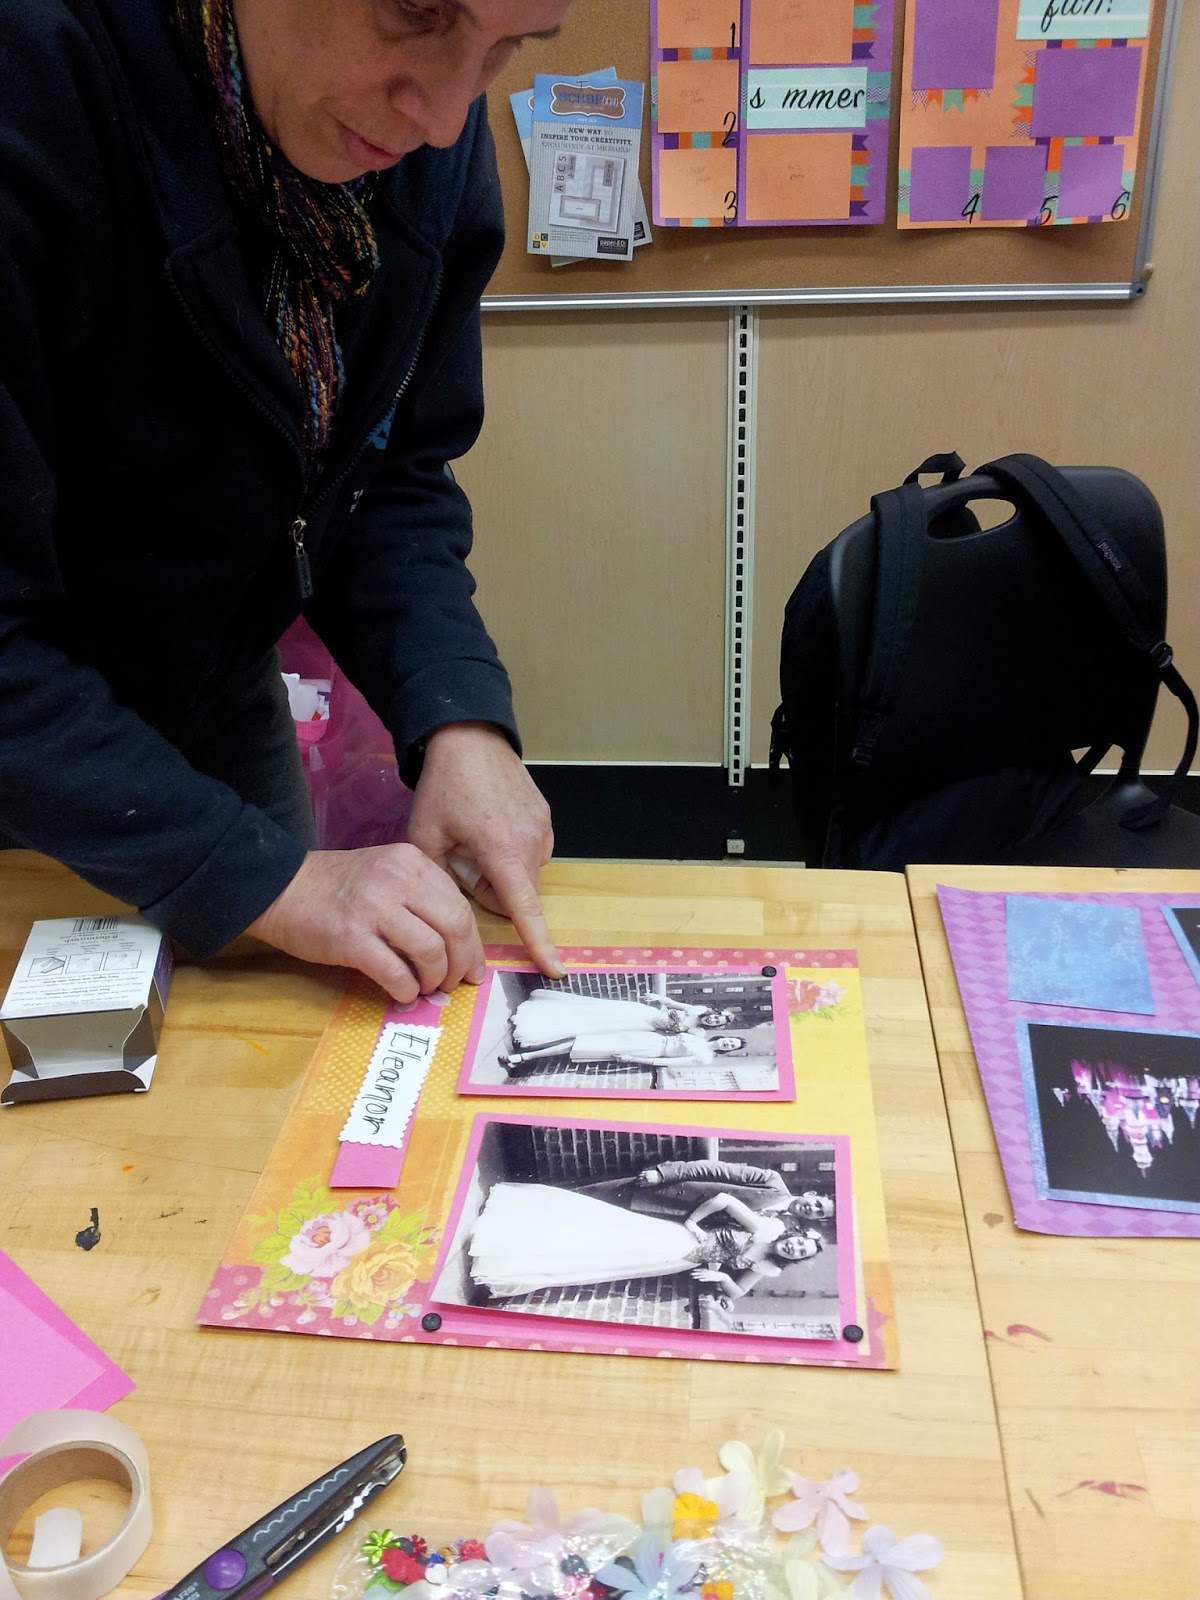
Everyone at the table was creating a Tim Holtz kit except for  the two ladies in the back. They were happy as clams designing 12x12 scrapbook pages for their babies.

We have other cool classes such as: rubber stamping, card making, scrapbooking, mixed media, banners, and distressing!  

We have awesome crops, we get together first Saturday of every month.  

Join our lovely crafting community today!  www.facebook.com/crafting.with.demali

Sunday, May 31, 2015

Scrap IN -June

Hey Everyone!  

June is here! Can you believe it?  Well we will have our next Scrap-In at Michaels this coming Saturday June, 6th, 2015 from 3-9pm!!  Its only $5 and all you have to bring is your snack, and your projects!  Hope to see you there...we only have a few spots left! Have a crafty kind of day!  

Creatively yours, 
Desiree
Love this...another great idea from a great artist!  I took a snapshot of this while visiting a store out of town!
Many thanks to the craft stores who share the work of others. -- Des

Friday, April 17, 2015

Want to learn about Paper Crafting?

Creative Classes Open House

50% OFF
Valid Apr 25 only
Saturday, April 25th, 11am - 3pm Stop by to meet our talented instructors where you can sign up to take a class or learn more about Passport to Imagination, our summer crafting program for kids. 
All classes are 50% off and Passport to Imagination is 3 sessions for only $10 when you sign up on April 25th.

Percent Off Discounts Are Off Original Ticketed Price.
In-store only

Friday, April 3, 2015

Scrapbooking at Westchester Community College!


REGISTER with the continuing Westchester Community College 
 Our next session is Sunday,  May 3, 2015!!

Advanced Scrapbooking

Image result for how to use embossing powder
Now that you know the basic steps to scrapbooking why not step it up a notch with more advanced techniques for embellishments and journaling by rubber stamping? Use this technique to embellish pages, create borders, backgrounds, or simply add style to their scrapbook pages. Experience dry vs. heat embossing to give your scrapbooks a fabulous touch! 

     VS   

Please bring themed photos such as 
birthday, wedding, showers, travel, etc.

REGISTER  for CE-CRAFT 2046, 1 Sun., May 3, 12:30- 3:00 pm,
KNC-4, $30 (+ $10 materials fee, payable to instructor).                 D. Machicote. #12926

Tuesday, March 31, 2015

Scrap In-April 4, 2015

Hey you guys its Scrap In time!  

Saturday, April 4, 2015

Sign up in the Michaels store-Pelham Manor or online at Michaels.com

For only $5 you will be able to craft for 6 hours straight from 3-9pm.  

We all bring a snack to share as well as the project & materials we will complete!  

I have a great crafting community who are full of spunk and love to help each other! Check out them out at www.meetup.com/craftingwithdemaliNY

Any questions?  Reach us at 914-562-5857 See you soon! 


Sunday, March 22, 2015

Diaper cake anyone?

My first two tier diaper cake!


A friend and co-worker of ours is having a baby. Having two of my own I totally understand how important the essentials such as diapers are. My youngest daughter and I ran to Target and the dollar tree to pick up some necessary items for a baby shower.   

Well......It's a Girl!


Yes that was the only excuse that we needed to have all sorts of fun shades of pink!!  

We purchased Up & Up diapers  stage 1, tiny baby powder, shampoo, lotion, Destin creme, hair brush set, socks, headbands, pacifier, and pack of socks.  


Some Crafts I already had and needed: round flat plastic platter (use can also cut out a circle shape out of a strong box), paper towel tube, rubber bands, tape,  thick pink ribbon, twirling ribbon, crepe paper, pink feather boas, white feather boas, buttons, small embellishments and a hot glue gun with several glue sticks. 


When you make your cake you can use any kinds of materials and treats...I am sharing what I had in my craft room which is full of all my scrapbooking supplies and materials! 

When you have all of the materials you can easily build your diaper cake.  


Step 1:  First you want to adhere the paper towel tube to the platter/cardboard with tape to prevent it from toppling over or falling and coming apart.  


Step 2: Begin to roll each diaper from the folded side towards the opening. Some folks open up the whole diaper and roll. I prefer to keep the diaper closed because it is a little more sanitary for the baby. When it is rolled,  secure it with a rubber band. Continue this step using all of the diapers.  


Step 3: You can place a rubber band around the paper tube on the tray. Then start placing the rolled diapers around the tube on the bottom inside of the rubber band so that they stay in place.  


As you can see I used the final diapers to wrap around the top layer as if I were using smooth icing...but then I changed my mind and took out the first layer to reverse the diapers. I wrapped the diapers around the tube then I placed the rolled diapers against it. It helped make the top tier fuller.  
I want to say I had about 30 rolled diapers on the bottom layer and about 12 on the top. I used the entire pack. 


Once all of the diapers in place you can use a really large pink ribbon around each layer. I used tape and hot glue gun to keep it in place.  

Since all of the decorations will be up to you, I am going to share what I used!

I then used two feather boas- one pink and one white. I measured around and cut the pieces I needed. 

I used the rest of the pink to cover up the paper towel roll showing at the top. It was glued to the very top of the paper towel tube.  I could have also cut it down but I wanted it to look tall.  

I created a pink flower using pink crepe paper and a really pretty silver button and some pink and white twirling ribbon which was glued to the top. 

I began to add the baby items by setting them in the area I thought they might go. I used tape to keep large items in place. You can use the hot glue gun on the feathers and other embellishments which are attached to the ribbon or tray.  


I loved the way it came out. I felt like it was a very creative way to put together a very practical and such needed gift!  Since it was a hit at the Baby Shower, I do think that I will attempt another one in the near future!   I love making all sorts of crafts.  I teach scrapbooking and all sorts or mixed media in NY.  


I hope you think some of the suggestions that I left are helpful.  Please feel free to leave some thoughts and suggestions below! 


You can follow my twitter and like my facebook page to keep up with some events happening! Just click on the words!=0) Did I mention we have some simple youtube videos? Just check us out! Thanks so much!!

Creatively yours, 


Desiree